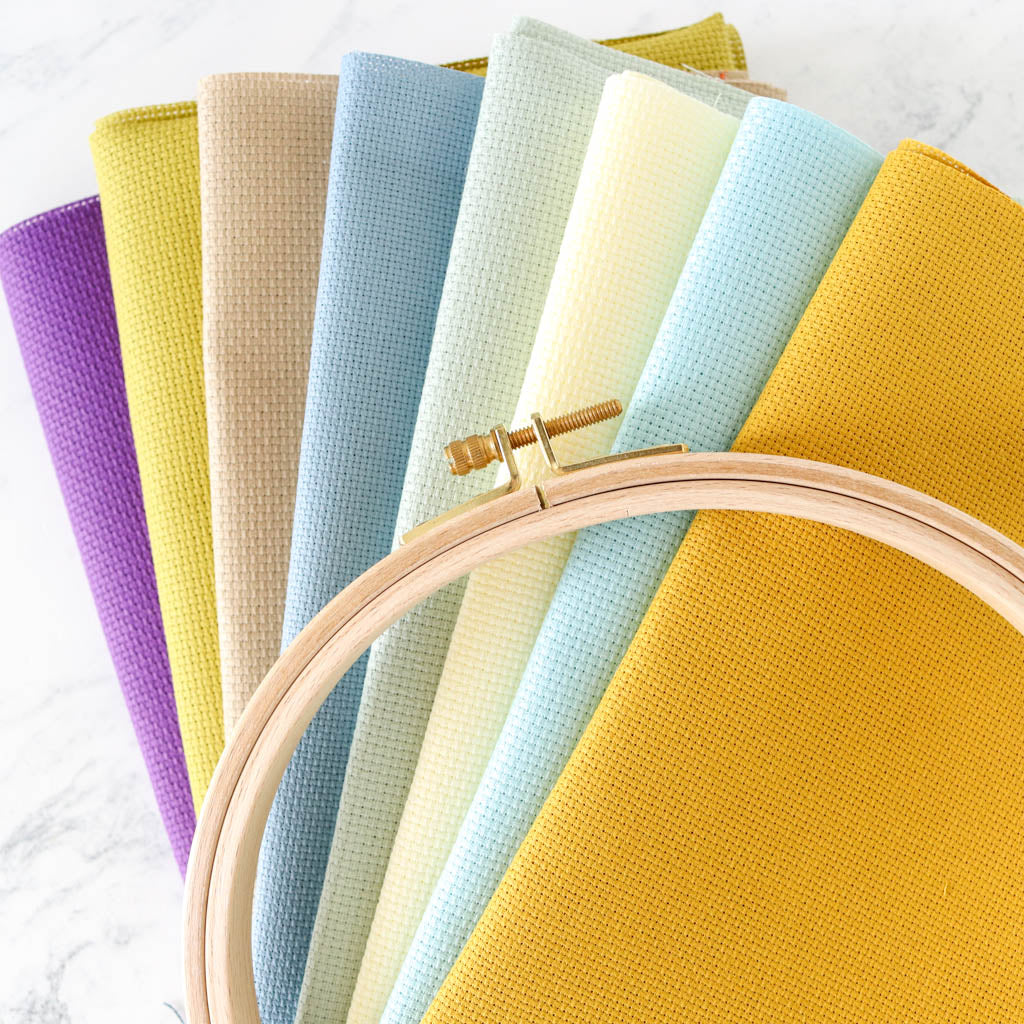
Cross stitch and hand embroidery are typically done on woven fabrics like linen and Aida. Because they are woven, the cut edges of the fabric tend to fray as you work with them. Especially for larger projects that will be handled a lot, it can be important to prepare the edges of your fabric before you begin stitching.
There are a number of ways to keep the edges of your fabric from fraying. Read on for some suggestions.
1. Do nothing
I admit this is a path I occasionally (okay, often) take. You can get away with it when your piece is small so you won't be handling the fabric for very long. Some edges will fray, but as long as your piece of fabric is sufficiently large, it won't be a problem to lose a bit along the edges.

2. Tape the edges
This is the way many of us learned to do it. Folding a piece of masking tape, or other low-tack tape over the edges of the fabric is quick and easy, but it leaves behind an adhesive residue that can attract dirt.
If you're going to use this method, plan on cutting off the taped edge when you are done stitching instead of just peeling off the tape. Be sure you make an allowance for this when you measure out your fabric.

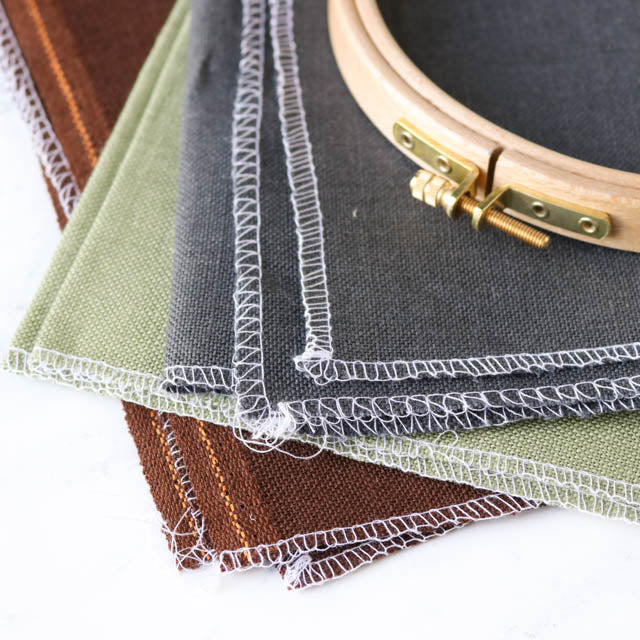
3. Machine stitch the edges
Serging the edges of linen or aida is the ultimate way to prepare the edges so they don't fray. If you happen to own a serger, this is definitely the time to use it, but if like most of us you don't own a serger, a standard sewing machine also works.
Use an overlock foot if you have one to do an overlock stitch, or simply set your machine to a zig zag stitch and sew closely along the edge of your fabric.

4. Hand stitch
Hand stitching the edges of your fabric is a good option for smaller pieces, or for when you don't have a sewing machine. You can overcast the edges with a simple whip stitch, or fold over the edge into a hem and baste it.
When hand stitching the edge, use regular sewing thread doubled up. Be sure to stitch into the fabric a bit so you don't end up pulling up the edges - 1/4 to 1/2 inch should work.

5. Fray block / Fray check
This is one of the simplest methods to treat your fabric. Alternatively called fray block or fray check, this solution comes in a little squirt bottle that you can apply to the edges of your fabric. Be sure to follow the manufacturer's instructions.
Fray block is a chemical, and while it is safe for fabrics, it's possible that it could cause deterioration over time. To be safe, trim away the sealed edges when you are done stitching.

6. Roll up the edges and secure with clips
If you have plenty of extra fabric, you can roll the edges and then secure them with plastic clips like Wonder Clips. This is also a good way to help manage your fabric when you're working on a particularly large piece of stitching.
While this is another super easy method, the downside is that your thread can catch on the clips while you stitch.

Do what works for you
The method you choose to prepare fabric for stitching may vary depending on the project...and perhaps on how anxious you are to get stitching! Pick what works for you and get stitching!