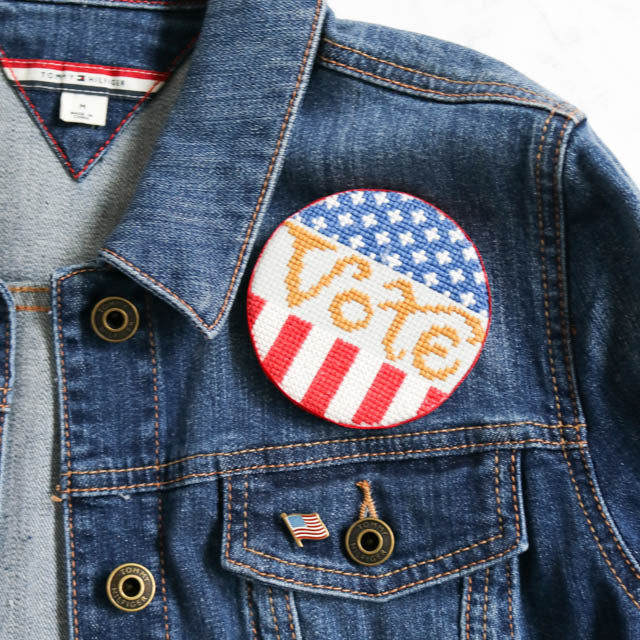
Love those "I voted" stickers you get at the polling station? Here's something even better. This cross stitch Vote button lets you display your civic pride with stitches!
The cross stitch pattern is available as part of the Sister Suffragette pattern by Summer House Stitche Workes. The pattern celebrates the 100th anniversary of the ratification of the 19th Amendment giving women in the U.S. the right to vote. The pattern includes variations of the Vote button for Canada, the U.K., Australia, France, and the Netherlands.
Keep reading to learn how to finish the cross stitch into a button you can wear on your jacket or pin to your bag or backpack. Make one to wear this election season and all the ones to come!
Materials
- Sister Suffragette cross stitch pattern by Summer House Stitche Workes
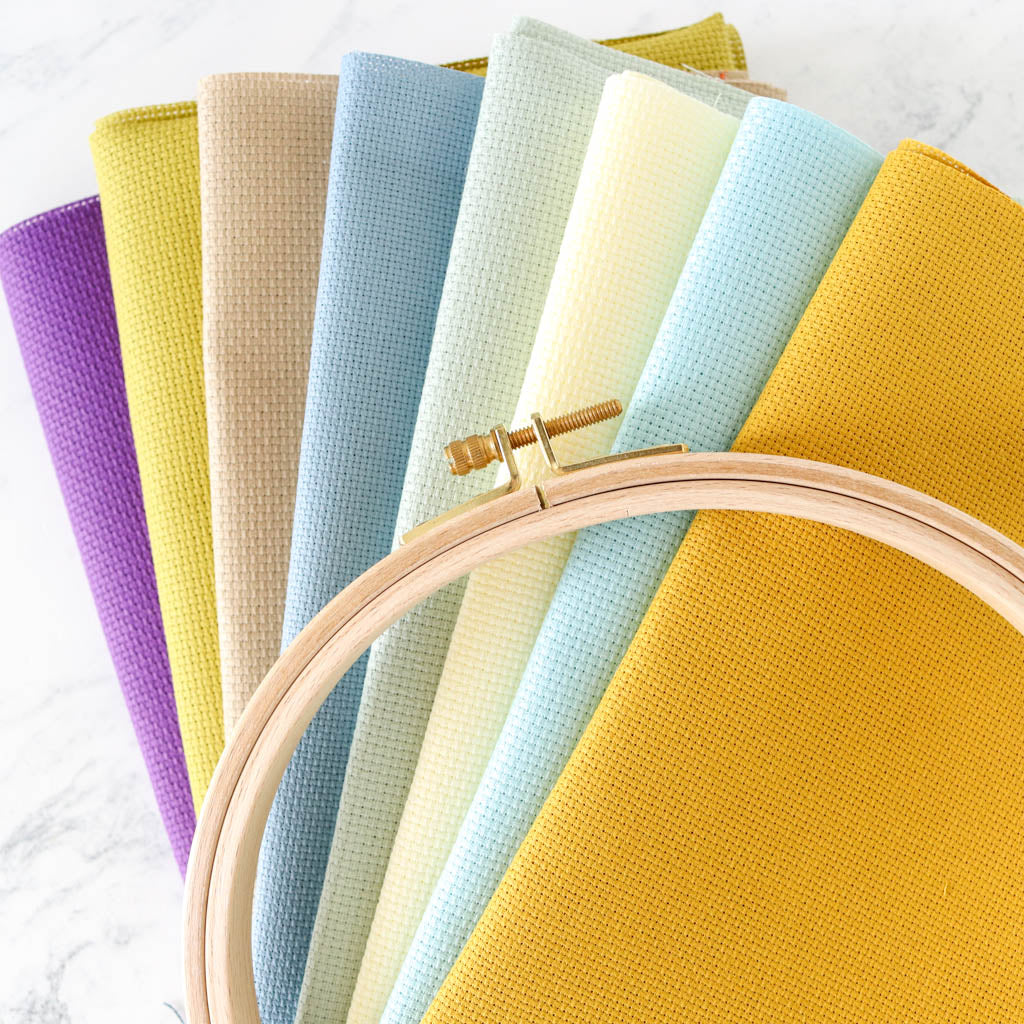
- Aida or linen fabric (we used 14-count Mystic Gray Aida)
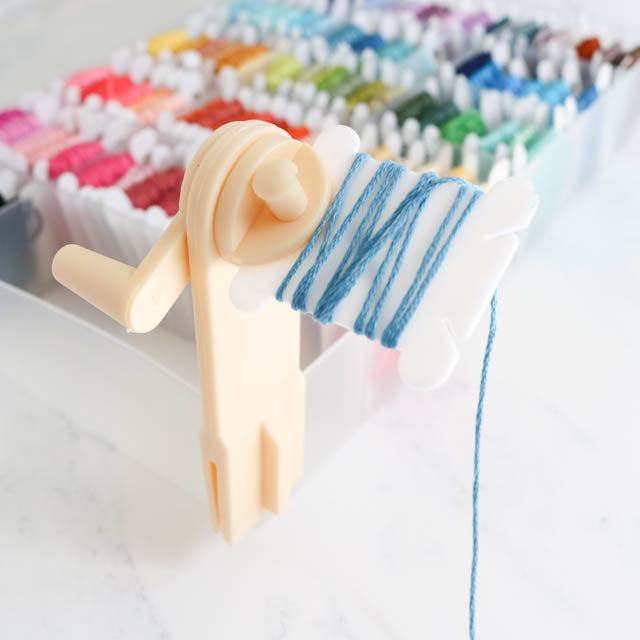
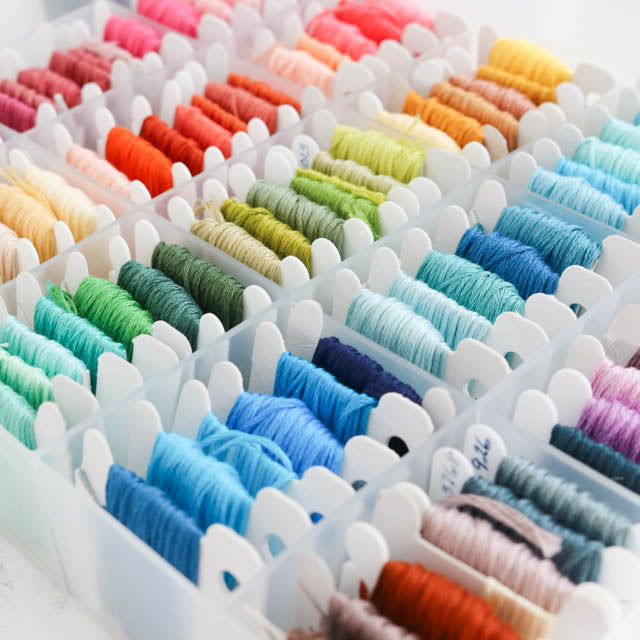
- Embroidery floss in colors specified
- Low loft quilt batting
- Mat board, cardboard, or foam core
- Ribbon (optional)
- Metal pin/brooch back
- Basic craft supplies (scissor, glue, ruler, etc.)
Stitch the pattern
Follow the chart in the Sister Suffragette pattern to stitch the cross stitch design. The final size of your button will depend on which fabric you choose. We used 14-count Mystic Gray Aida, which makes a button that measures approximately 3-1/4 inches in diameter. Stitching over 2 on 28-count linen will give you the same size.
If you would like your button to be smaller, choose 16-count Aida (or 32-count linen) for a 3-inch button. Or go with 18-count Aida for a 2-3/4" button.
When you are done stitching, wash and iron the fabric to remove oil and dirt as well as any creases.

Trim fabric to size
After your piece is washed and nicely ironed, trim the excess fabric in a circle about 1 inch away from the edge of your stitching. It doesn't have to be a perfect circle, just be sure to leave enough fabric to wrap around the backing material.

Cut backing material
Cut a circle of mat board with a diameter of 3-1/8 inches. If you don't have mat board, you can use foam core or even a scrap of cardboard. Whatever material you use should be stiff enough that the finished piece won't be floppy, but not so thick that it will be too bulky.
Note: If you stitched your piece on something other than 14-count Aida or 28-count linen, you will need to adjust the size of your mat board accordingly. The mat board should be just slightly smaller than your stitching area.
Next cut a piece of quilt batting that is larger than the mat board, but not as large as the fabric. I used the mat board as a guide, and cut the batting approximately 1/2 inch larger.
If you don't have batting, you can use one or two layers of felt to give the finished pin some loft.

Attach fabric to backing
Stitch a basting or running stitch all the way around your Aida or linen, about 1/4 inch in from the edge. Leave a few inches of thread at both the beginning and end of your stitching.
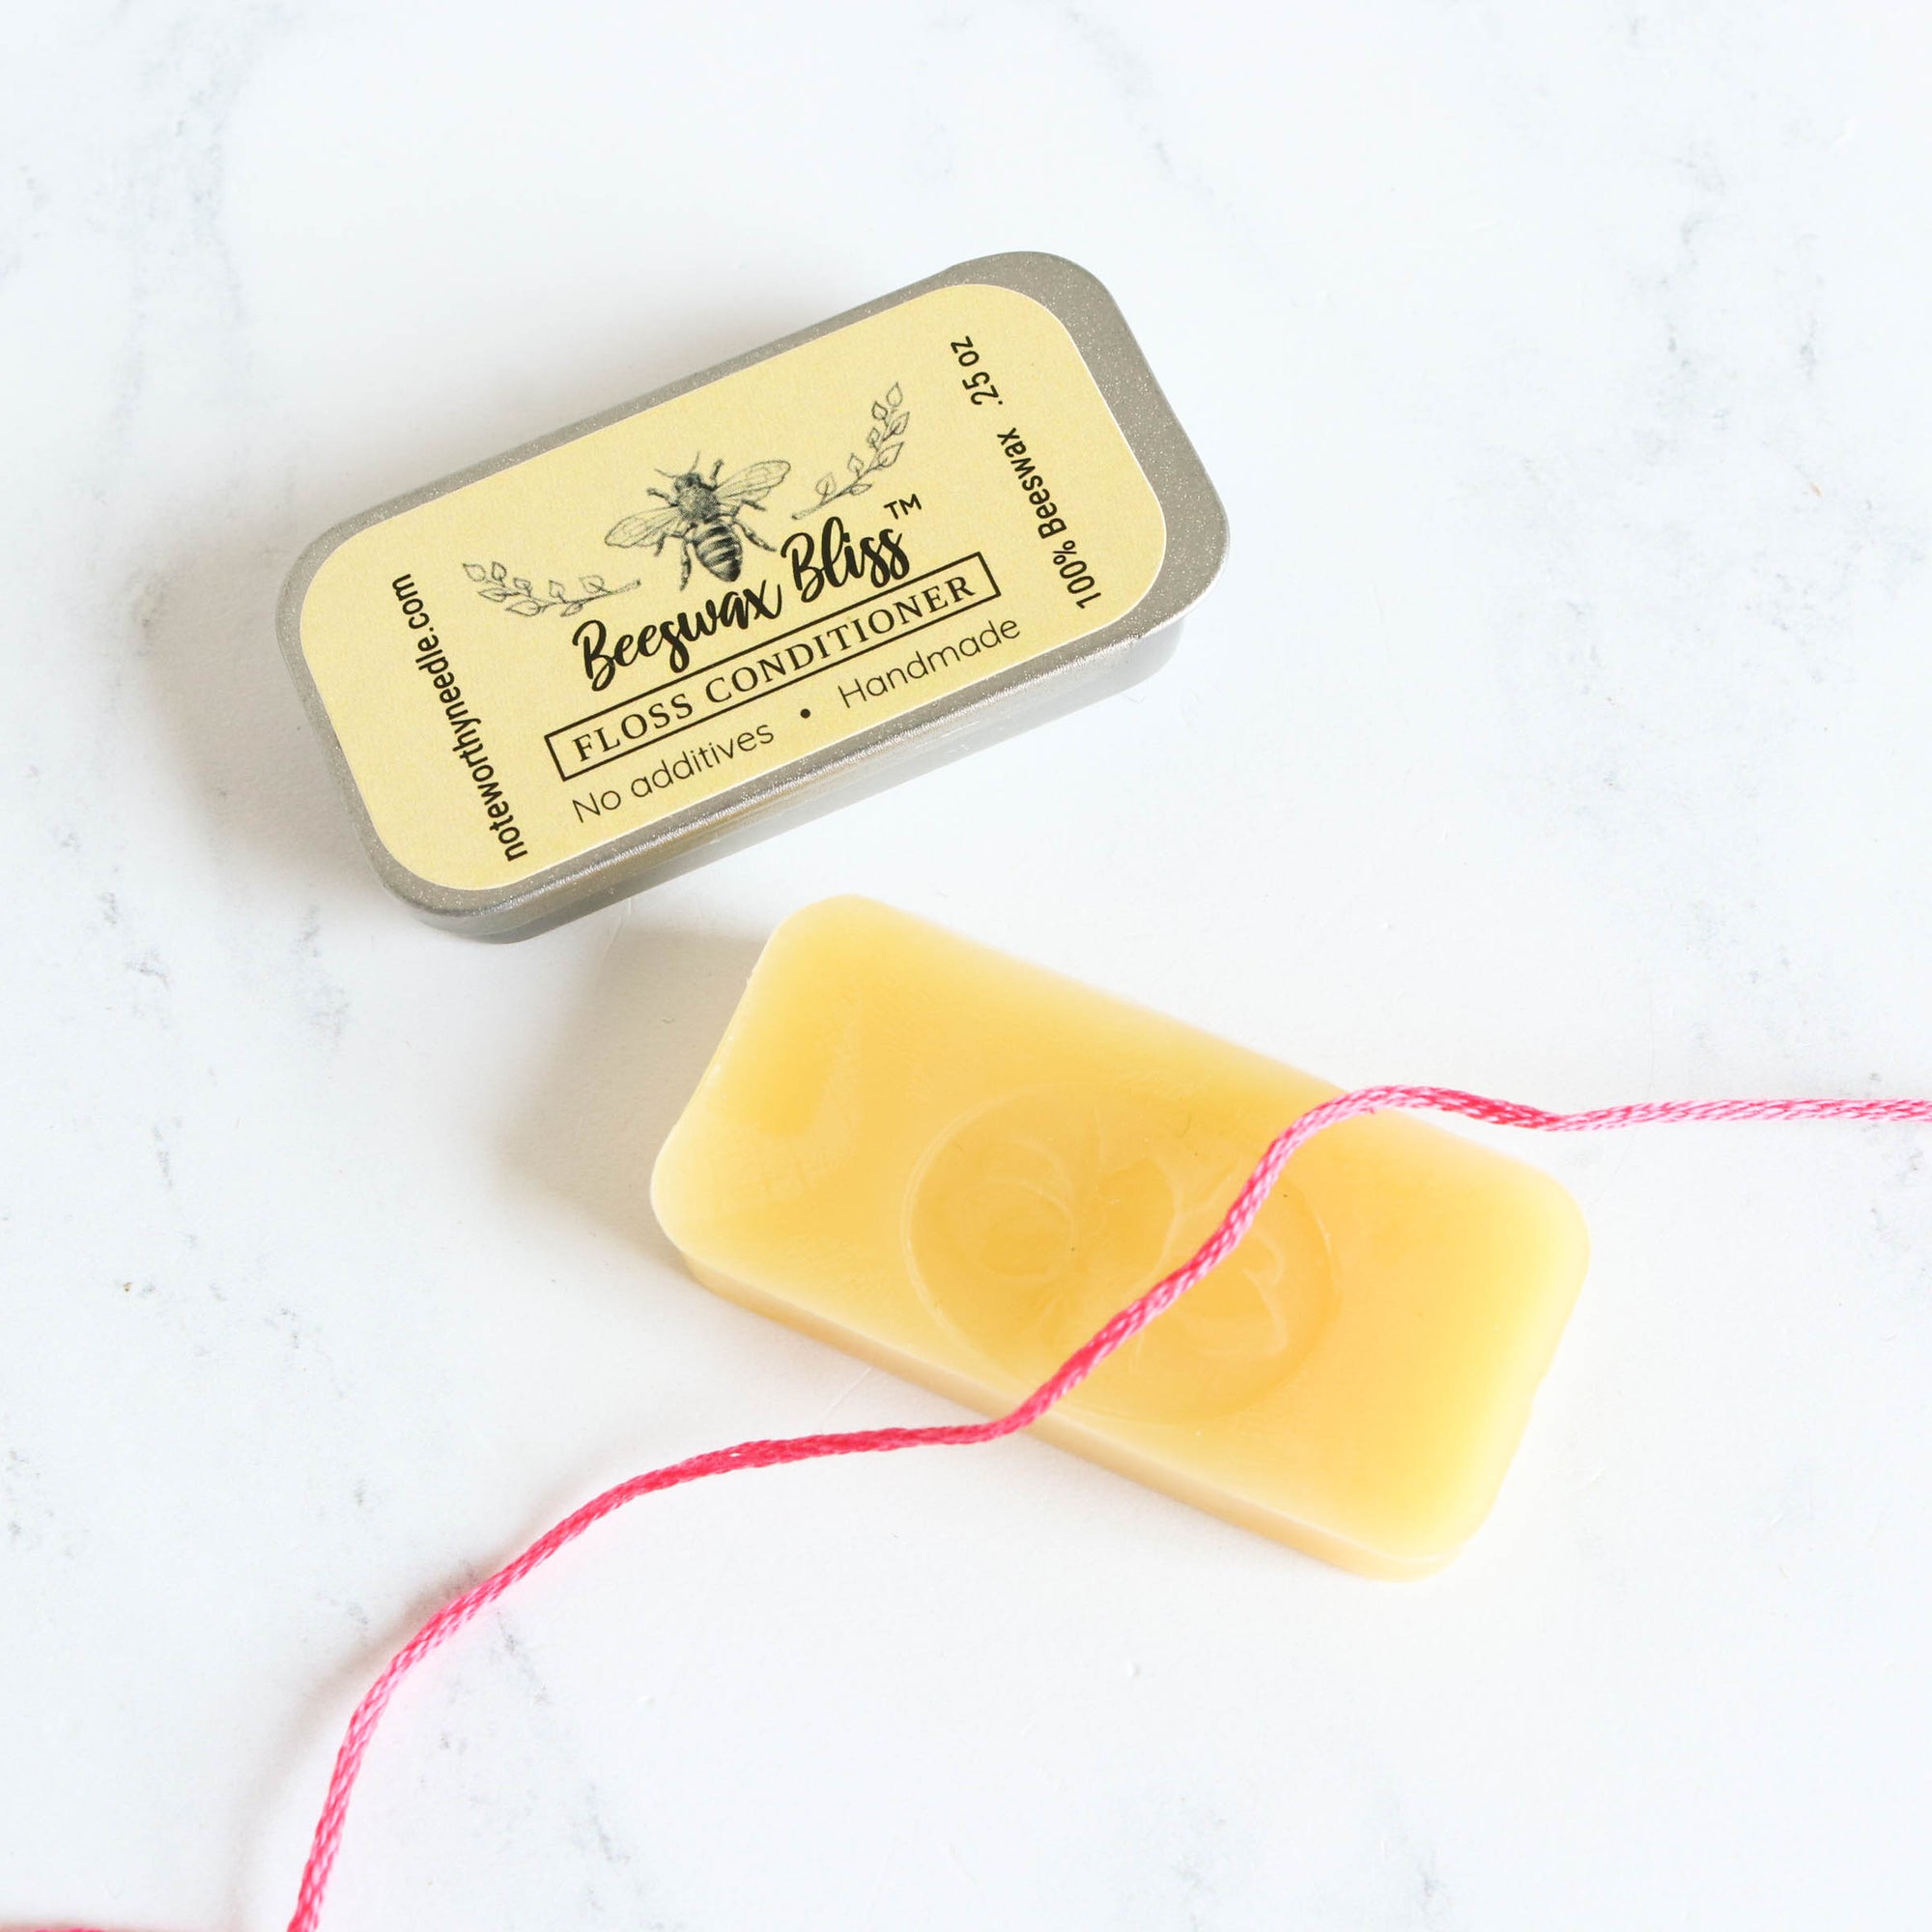
I used a double layer of sewing thread for this, but you can use floss instead. Either way, running the thread through a bit of beeswax before you stitch will help strengthen the thread and keep it from tangling during this step.

When you are done stitching all the way around the edge, place the Aida or linen face-down on a clean work surface. Center the batting on top, followed by the mat board.
Pull the ends of the thread to cinch the fabric around the backing material and tie the ends together tightly. Adjust the fabric to make sure it is centered. The edges should be nice and smooth.

Add trim and embellishments
I decided to keep my button simple, and finished the edges by gluing on a 1/8-inch red satin ribbon. You can make yours as fancy as you would like. Finishing instructions included with the Sister Suffragette pattern show you how to make a gorgeous ribbon rosette to finish off the button.

Finish the back
Once you have added all the ribbon and trim you want, cut another circle of mat board approximately 2-1/2 inches in diameter, and glue it to the back of your pin. Depending on how bulky your fabric is, you may want to weigh the button down with a heavy book while the glue dries.
Finally, attach a metal brooch/pin back to the mat board, and you are ready to go vote!